|
|
|
|
|
|
|
|
|
Enchiladas seem to be one of those "mystery dishes" that everybody loves, but few people know how to make California-style enchiladas. Sharlene has been making California-style enchiladas for years, and her recipe is easy to make, and will produce enchiladas that everybody will love. If you're a enchilada purist, you may want to discard this recipe, as Sharlene takes many time-saving steps, including... gasp... the use of canned ingredients, but the end result is a delicious enchilada. If you can get past the can... gulp... just follow the recipe and enjoy some of the best California-style enchiladas that you've ever have the pleasure to savor... Special
Tools: Cast iron skillet, stock pot, kitchen tongs 2
whole chickens Sharlene always prepares the chicken the day before she plans to make enchiladas. She places the chickens in a large stock pot, adds enough water to cover the chickens, and brings the water to a boil. The chickens are allowed to boil for a couple of minutes, then heat is reduced, the pot is covered, and the chickens are allowed to simmer for about an hour. The time isn't critical, as the chickens could simmer for two, three hours, or more. You don't have to boil the chicken, as any roasted, grilled, or cooked chicken will work just fine.
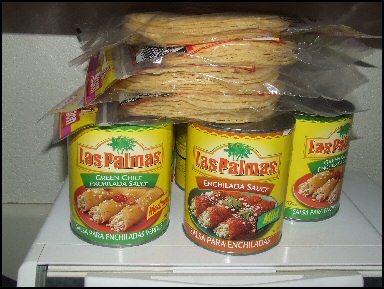
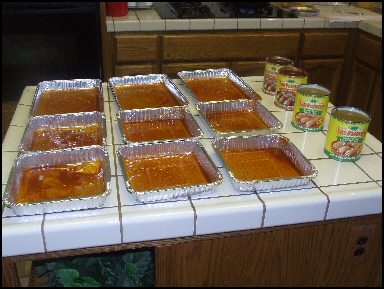
Left: Yes, some of the ingredients are canned, the tortillas are packaged, yet the end result results in enchiladas that will achieve bragging rights in your family. Right: Disposable aluminum baking pans, with red enchilada sauce, are set on the kitchen island, in Sharlene's "assembly method" of making a large batch of enchiladas. Remove chicken from pot and allow to cool. Remove meat from chicken, dice meat, and place in covered storage container; reserve for enchiladas. Don't forget to save the skin, bones and small leftover pieces of meat for chicken soup! We use canned... gasp... yes... canned... ingredients to save time, and our family doesn't seem to care, as our enchiladas are always a hit with family and friends. You can substitute fresh jalapeño peppers, or a large can of black olives, if you want to slice and dice them yourself. Same with the enchilada sauce, as you can use another brand or make your own. On enchilada day, Sharlene uses the "assembly line" method with the enchilada components. The eight aluminum pans are placed on the kitchen island, and she pours a small amount of red enchilada sauce, about 2 tablespoons, into each pan and distributes the sauce evenly in the pan, to provide a moist bed for the enchiladas. In our kitchen, the range is in the center of the "L-shaped" counter, so she places a cast iron skillet on the range, with about a cup of salad oil to cook the tortillas, and individual containers of red enchilada sauce, cheese, diced peppers, sliced olives, tooth picks and chicken. A cutting board is dead center, and a pan is placed in front, as the pan is filled with six enchiladas. See photo for details of how Sharlene lays out her enchilada "Assembly line."
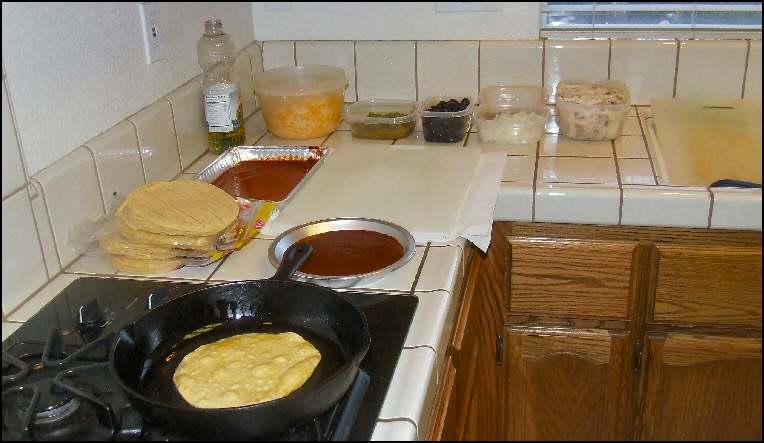
Photo: Assembly line for enchiladas: Skillet cooking a corn tortillas that's ready, pie pan full of red enchilada sauce, shredded cheddar cheese, diced jalapeno peppers, sliced olives, diced white onions, and a container of cooked, diced chicken. Note the bottle of salad oil, to replenish the skillet, after cooking a few tortillas. Here's how Sharlene makes the enchiladas: Place components on counter in individual containers. Place cutting board, which is used to assemble directly in front of assembly station. Grab one of the aluminum pans coated with enchilada sauce and place it just behind the cutting board. Pour 1/2 cup of salad into cast iron skillet, which should cover the skillet to about 1/4" and heat to high. During cooking process, replenish salad oil as needed, as you should keep level to about 1/4" for optimum convince, taste and safety. When salad oil is heated, put on your apron, grasp your tongs and take a deep breath, as you're ready to make enchiladas. Remember, nothing is critical, so relax, enjoy and have fun making delicious enchiladas. Using kitchen tongs, place 1 tortilla in heated salad oil. When blisters start to appear on tortilla, after about 10 seconds, flip tortilla over and allow to cook for another 8 seconds or so. Remember, hot salad oil is HOT, so use kitchen tongs! The idea is to cook the tortilla just enough to be pliable, so it will conform to the shape of an enchilada, hold the components, and won't break under pressure.
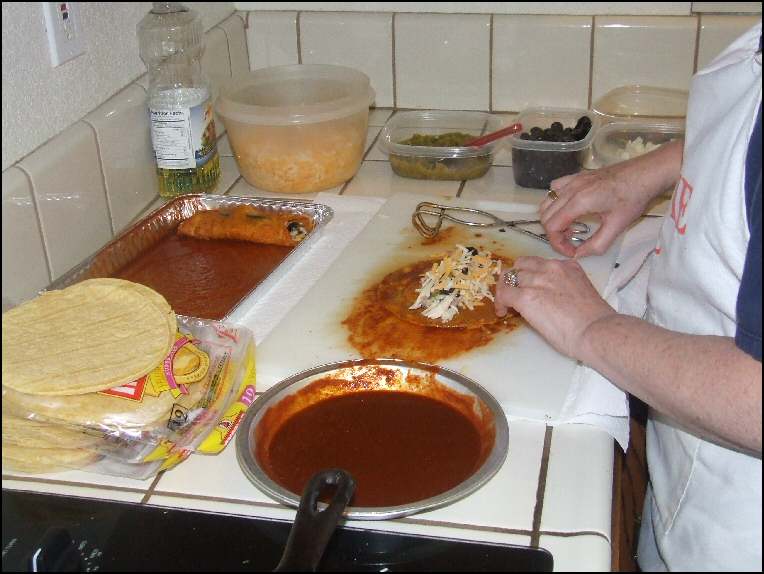
Photo: Sharlene assembles a perfect enchilada. Note the aluminum pan to the left of the cutting board, which already holds one completed enchilada. The sauce in the pan ensures moisture when the enchilada is roasted in the oven. Sharlene likes put red enchilada sauce into a pie tin, as its larger than the tortillas, and allows for easy dipping, for the tortillas, especially since you're using kitchen tongs. Remove pliable, cooked tortilla from skillet, using kitchen tongs, dip it into red enchilada sauce, and place on cutting board. Place equal amounts of chicken, olives, peppers, onions and cheese on the enchilada. Roll the tortilla together, place a tooth pick into the tortilla to keep it together, and place the rolled enchilada in the pan in front of you that's coated with a small amount of enchilada sauce. Repeat the procedure 5 more times, and now you have a pan of enchiladas.
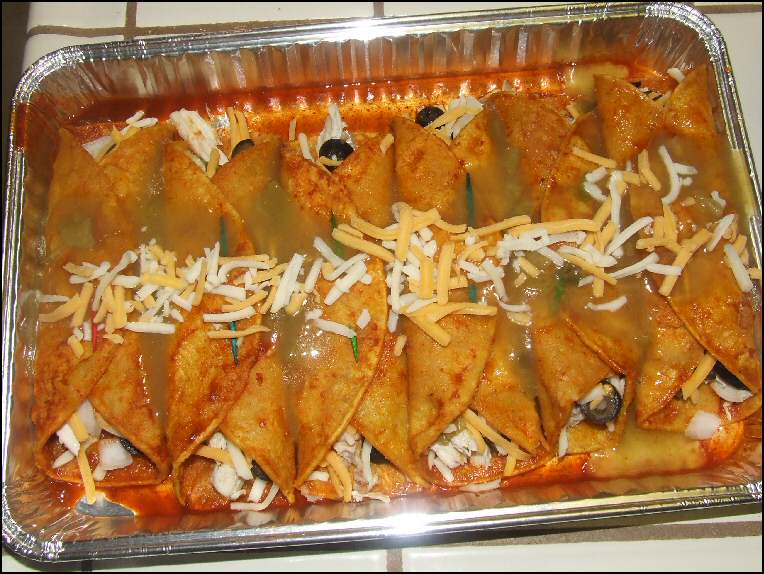
Photo: Proof of the pudding: Six delicious enchiladas. Cover with aluminum foil, and the enchiladas freeze well, for many months. Ladle green chilie sauce over pan of enchiladas, and sprinkle cheese over the pan. Cover pan tightly with aluminum foil. If you plan to eat the enchiladas immediately, heat oven to 350 degrees; when oven comes to heat, cook enchiladas for 45 minutes. However, if you've made 48 enchiladas, you'll be happy that the enchiladas freeze well, especially if the pan of enchiladas is enclosed in a large, 2-gallon freezer bag. You'll find that your pan of enchiladas will keep for many months in your freezer. Sharlene's California-Style Enchiladas are very labor intensive, but well worth the effort, as family and friends will rave over the enchiladas, and immediately elevate you to an enchilada guru, and just think of this: You won't have to make enchiladas for several months.
Copyright(c) 2008 eRench Productions, Inc. All rights reserved. This site has been on the web since December 22, 2002. Web page design has been created by eRench Productions, Inc., custon photography for any occasion...
|